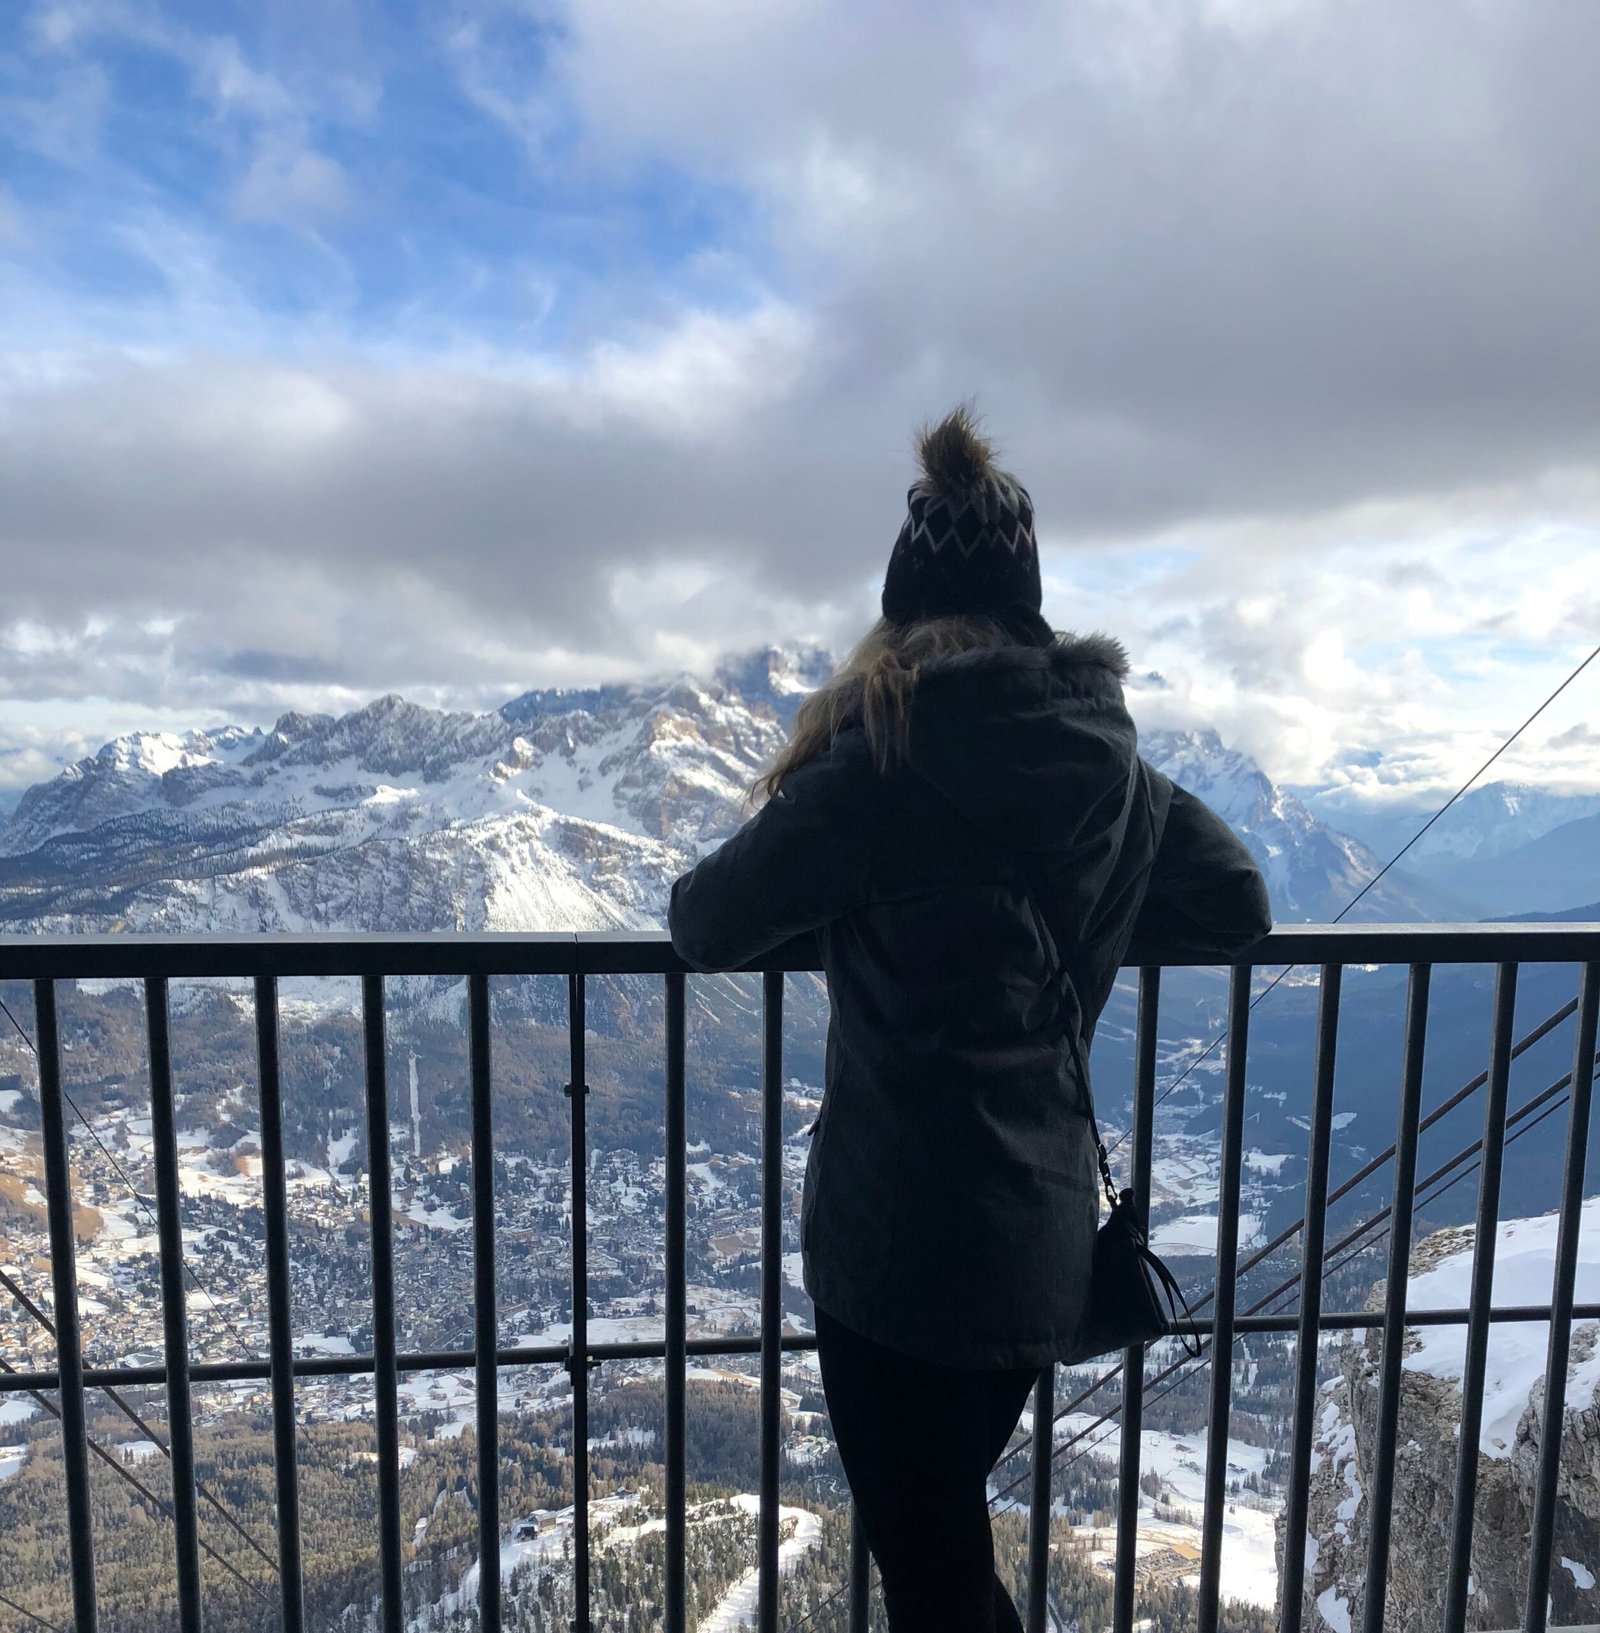
How to Layer for Winter Travel: Stay Warm Without Overheating
If you’ve ever bundled up for winter only to start sweating five minutes later, you know the struggle. The key to staying comfortable in cold destinations isn’t just having a big coat , it’s all about layering.
Done right, layering keeps you warm outdoors, lets you cool down indoors, and saves space in your suitcase.
Here’s my go-to guide to winter layering that works whether you’re chasing the Northern Lights, strolling snowy European streets, or heading to a ski resort.
1. The Three-Layer System (or 4 if you run cold like me!)
Think of layering like building a sandwich. Each part has a job, and together they make you comfortable.
Base Layer (keeps you dry)
This is your next-to-skin layer. Its job is to wick away sweat so you don’t get chilled.
- Best fabrics: merino wool or synthetic (polyester blends)
- Avoid: cotton (it traps moisture)
- Examples: thermal tops & leggings, long-sleeve merino tees
💡 How many? For a week-long trip, 2–3 base sets are plenty. You can re-wear because merino resists odour.
Mid Layer/s (traps heat)
This is your insulation. It holds warmth while still letting air circulate.
- Best options: fleece jackets, wool sweaters, lightweight down or synthetic puffers
- Mix and match depending on the cold level
- Indoors in Europe? Your mid layer often becomes your “outfit”
💡 Pro tip: Choose zip-ups when possible as they are easy to peel off without fuss.
Outer Layer (protects from elements)
This is your shield. It blocks wind, snow, and rain.
- Waterproof insulated parka for extreme cold
- Shell jacket for milder or active trips (add insulation underneath)
- Ski pants or waterproof trousers if you’ll be sitting in snow or doing outdoor activities
2. The “Add & Remove” Rule
Here’s the golden trick: layer so you can add or remove pieces quickly.
Example:
- Outdoors at night in Tromsø → base + fleece + parka + snow pants
- Indoors at a café → just base + fleece
That way, you’re never stuck sweaty or shivering.
3. Accessories = Micro Layers
Small things make a huge difference:
- Neck gaiter/buff instead of a bulky scarf (light, easy to pull down indoors)
- Beanie/hat that covers your ears
- Gloves + liners (wear liners for phone use, slip mittens over for warmth)
- Wool socks (layer thin liner + thicker sock for comfort)
4. Real-Life Layering Examples
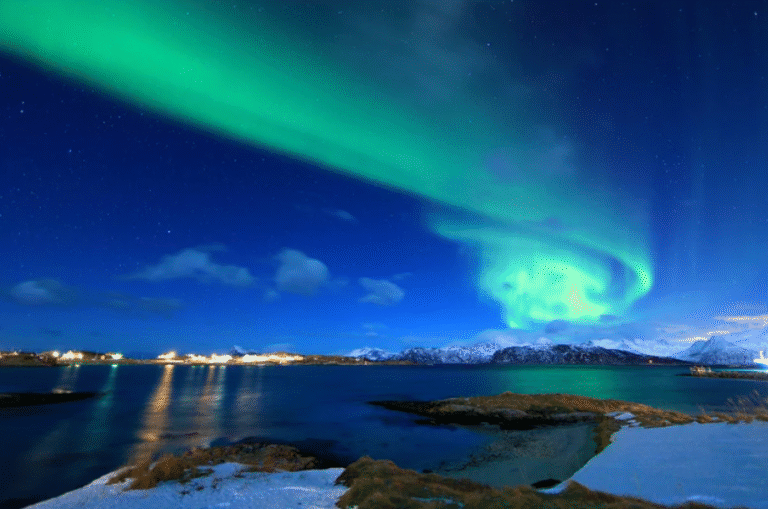
Scenario 1: Northern Lights Chase
- Merino base
- Fleece or wool sweater (both if extra cold!)
- Insulated parka
- Thermal leggings + snow pants
- Wool socks + insulated boots
- Hat + buff + mittens
Scenario 2: Winter City Break (Prague, Copenhagen, etc.)
- Merino base
- Light sweater
- Midweight wool coat or puffer
- Jeans or leggings with thermal tights underneath
- Boots + wool socks
- Scarf + gloves
Scenario 3: Ski Trip
- Base: merino thermals
- Mid: fleece or light puffer
- Outer: waterproof ski jacket + ski pants
- Helmet + goggles + neck warmer
5. Layering Mistakes to Avoid
- ❌ Overpacking bulky sweaters (1–2 is plenty)
- ❌ Wearing cotton as a base (you’ll regret it fast)
- ❌ Boots too tight with thick socks (you need room for circulation)
- ❌ Forgetting indoor comfort (pack one nice, lightweight top for dinners)
Ready for Your Next Adventure
Layering isn’t complicated once you know the formula. Think of it as flexible building blocks: start with a warm base, add insulation, then shield with your outer layer. Add smart accessories, and you’re ready for anything from snowy hikes to cozy city strolls.
👉 If you’re heading somewhere especially cold, check out my full Arctic & Northern Lights Packing Checklist for a complete breakdown of what to bring.
Stay warm, stay comfy,
Jen ✨